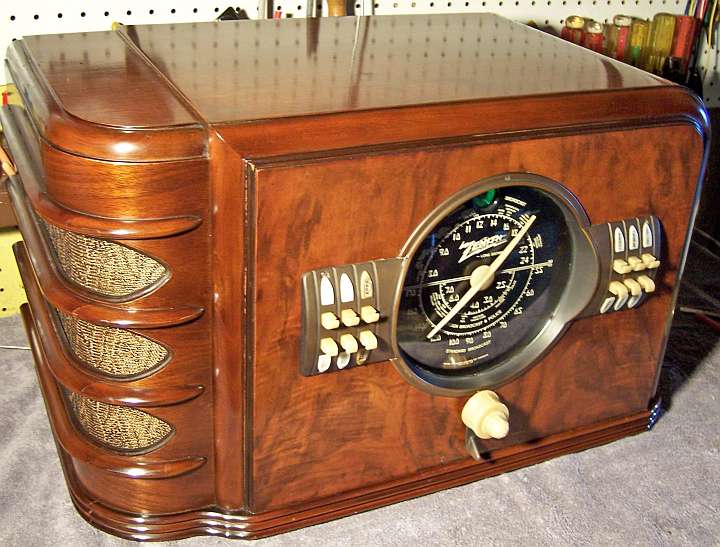
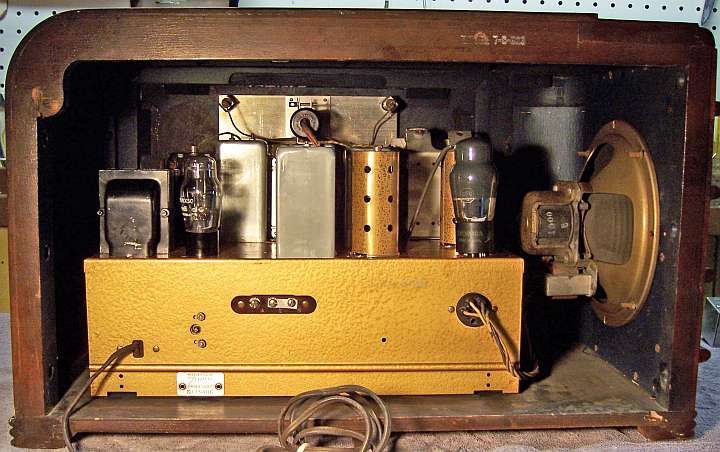
Zenith 7S323 (7-S-323) Restoration
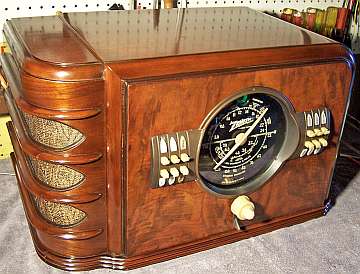 |
The Zenith model 7S323 (7-S-323) from 1939 is a large tabletop
7-tube AC superhet circuit radio. It is in reality a console size
chassis (Zenith deep chassis) in a large table top cabinet. It receives the standard broadcast band and two short wave bands, has
"automatic" or push-button tuning, and the Zenith Radiorgan
tone control system. The radio had seen minimal servicing in the past -
most of the original parts were still in place. I decided to try to reverse
all previous repairs to the extent
possible. I did have a 7S342 (chairside model - same chassis) parts
set, just
in case!
The schematic for the Zenith 7S323 can be found on Nostalgia
Air. Any part numbers mentioned will refer to numbers on that schematic. |
My
antique radio restoration logs
Previous Repairs
-
Filter capacitor C25 had been replaced by a tacked-in
capacitor.
-
C6 (IF screen bypass capacitor) had been replaced
-
All tubes except the 6J5G and 6U5 had been replaced.
These were Zenith, and could have been originals.
Survey
My usual restoration procedure is to first make a complete
survey of the condition of all components. The survey results guide my
restoration strategy. If major and unique components are defective or
missing and
cannot be restored or replaced, I may elect to sell the radio rather than restore it.
I always assume that all paper and electrolytic capacitors are leaky and thus should be
replaced (I always "restuff" the original containers if possible).
Any mica capacitors are assumed OK until testing proves otherwise.
-
The AC power switch was bad (measured high resistance) - dirty and/or oxidized contacts likely.
-
The chassis washers were bad, which is typical.
-
The tuning capacitor grommets were bad - again, typical of the age.
-
The compensating coil T3 had been mouse eaten and was open. All other
coils and transformers were OK.
-
The speaker field and output transformer were OK.
-
The power transformer checked out OK (this radio uses a 6X5 rectifier).
-
The volume control knob was incorrect.
-
All station ID and tone tabs were missing.
-
The 6X5G had been replaced by a 6X5GT. All other tubes were G
types. The Zenith 6J5G and 6U5 were very weak. All other tubes
were good.
-
The power cord was original and in good condition.
-
Only 3 resistors were out of tolerance. These were all carbon
composition types. The 1 meg resistor inside the eye tube socket was
also defective.
Repairs
All tubes and shields were removed. The automatic tuning unit was
removed. The dial scale and pointer were removed. The band change
mechanism, tuning shaft and flywheel assembly was removed for access to
components below and for cleaning. The tuning capacitor was removed for
cleaning and replacement of chassis grommets. All non-original parts and both
filter capacitors were then removed.
The top of the chassis was cleaned with GoJo hand cleaner and 00 steel
wool.
The defective compensating coil (T)3 was removed and replaced using the coil
(and compensating capacitor together) from my 7S342 parts chassis.
The tuning capacitor grommets were replaced by modern rubber grommets.
The tuning capacitor was cleaned in an ultrasonic cleaner followed by soap,
water, and toothbrushes. The bearings were then relubed using lithium
grease. The volume control and tuning shafts were cleaned and relubed.
The missing dial drive belt was replaced using round rubber replacement stock,
cut on a 45 degree angle, and glued using super glue.
Resistors and Capacitors
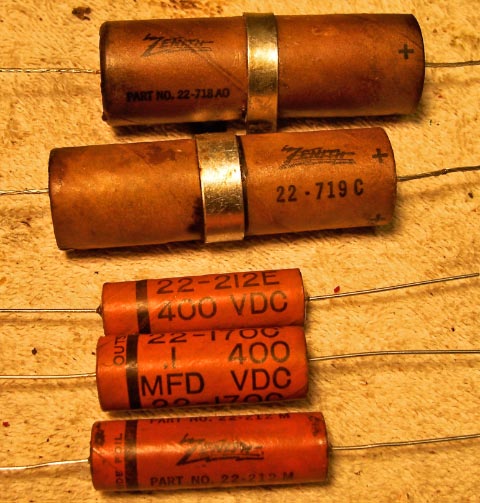
All original Zenith paper capacitors were rebuilt in their original cases
using modern 630 volt axial film capacitors in order to maintain the original
under-chassis appearance. I reseal the cardboard tubes using rosin
salvaged from RCA catacombs (it melts at a low temperature and will not damage
the replacement capacitors). I collect original Zenith (as well as Philco
and other branded types) wax/paper capacitors for use when the originals are
missing or have been replaced. Zenith schematics in Riders Manuals indicate the Zenith part
numbers of the capacitors used. I was able to find the correct part
numbers for all of the missing original Zenith capacitors in my stocks or the
parts chassis.
One original Zenith filter capacitor C25 16mfd had
been replaced. I found an original dud in my parts chassis and it was
rebuilt using a 22mfd 450 volt electrolytic, as was the remaining original
filter capacitor. The original tubes were resealed using rosin.
All defective resistors were replaced by same type carbon composition
types. The 1 meg dogbone resistor inside the 6U5 eye tube socket was
replaced by a 1/4 watt carbon composition resistor, since it would not be
visible. The volume control was cleaned in place using Big Bath cleaner.
Tubes
Correct G type tubes were installed for the 6J5G and 6X5G. A Zenith
branded 6U5 was installed. It was somewhat weak, but worked well enough
(in a darkened room!)
Cabinet Parts
I had a correct volume control knob available from my 7S342 parts
chassis. A missing escutcheon screw was replaced, again from my parts
chassis. A missing chassis bolt was replaced by new generic
hardware. The chassis washers were replaced using modern reproductions
from Renovated Radios. The missing tone tabs and stations ID tabs were replaced
using modern reproductions from Alan Jesperson. Unfortunately, the color
is not the same as the original tone control and stations selector
buttons. Also, the reproduction tabs tend to fall out! After some questions on
Antique Radio Forums, the tabs were secured using a small dab of silicon
adhesive (they can be removed if needed).
Testing and Alignment
Once the radio was reassembled and the tubes installed, power was brought up
slowly using a variac. AC power consumption was monitored using a watt meter, and a
DVM monitored the B+. The radio came alive immediately and worked.
The set was then aligned - no surprises. The automatic tuning push buttons were
adjusted to local stations. They worked OK, even though the
compensating coil T3 had been replaced.
The radio performs well, and has very good tone.
Restoration Results
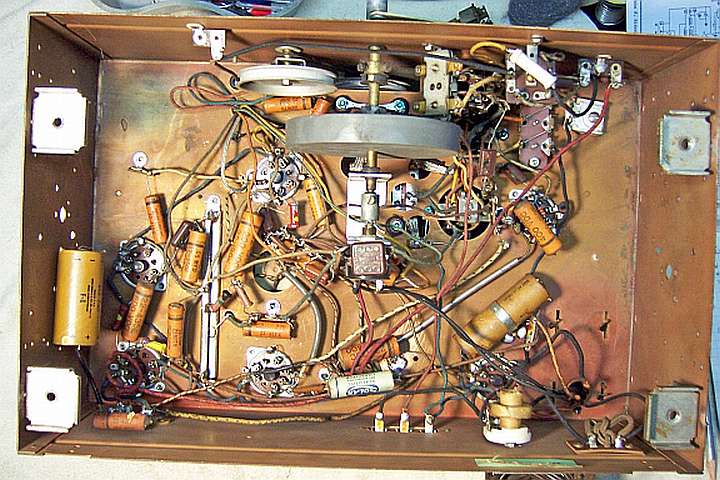
Chassis Before Restoration
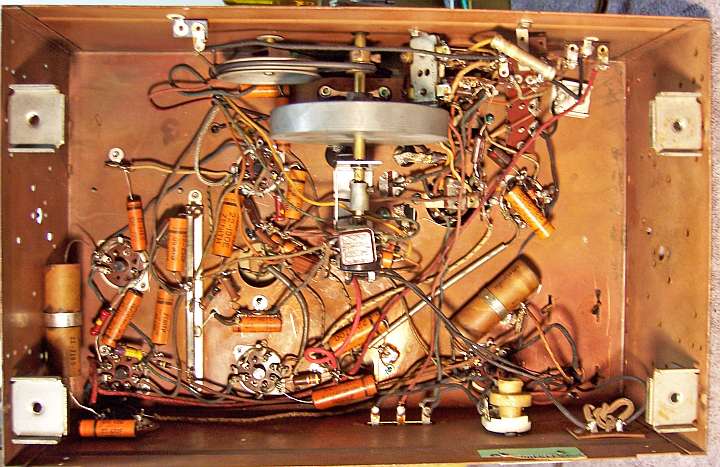
Chassis After Restoration:
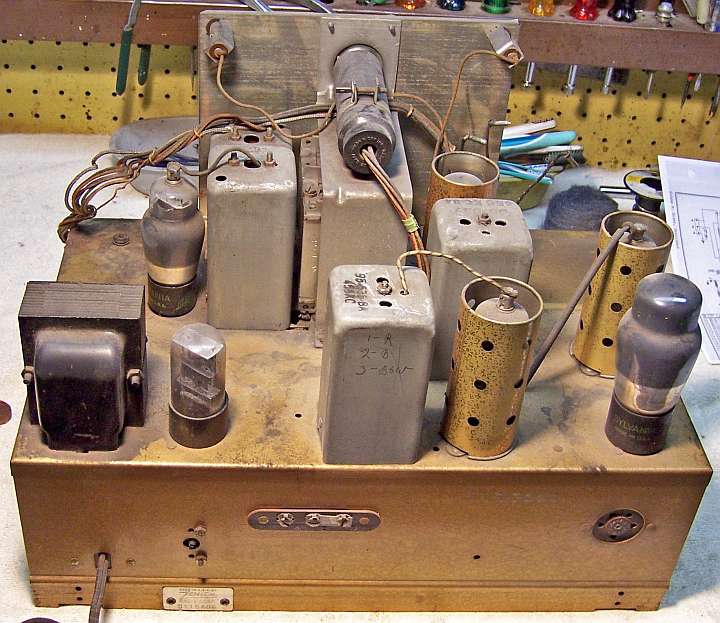
Top Of Chassis Before Restoration
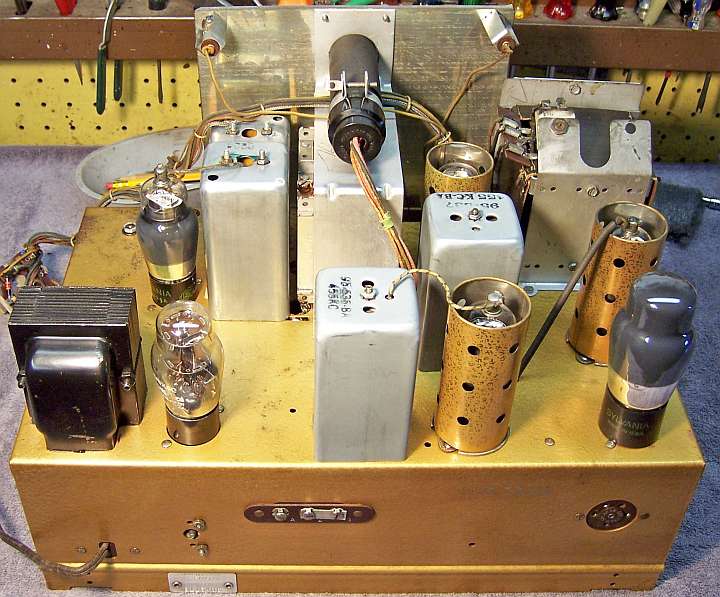
Top Of Chassis After Restoration
Cabinet - Only Cleaning Was Needed With GoJo and 00 Steel Wool
